Original Works Project: Aspen Trees
Learning Target: I can create a scene with aspen trees using tape resist and paint
|
First Class:
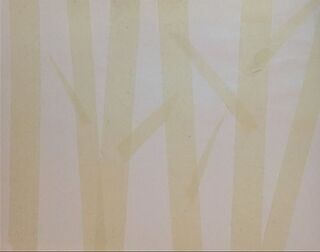
To begin this project, the third graders used tape to create a resist in order to make the aspen trees. The students talked about how the trunks can be different sizes, and the trees stand at different angles. They also looked at how to rip branches that could overlap and come off of the tree trunks. After a quick demo, the students got to cutting and ripping their tape to create their tree forest. |
|
|
Second Class:
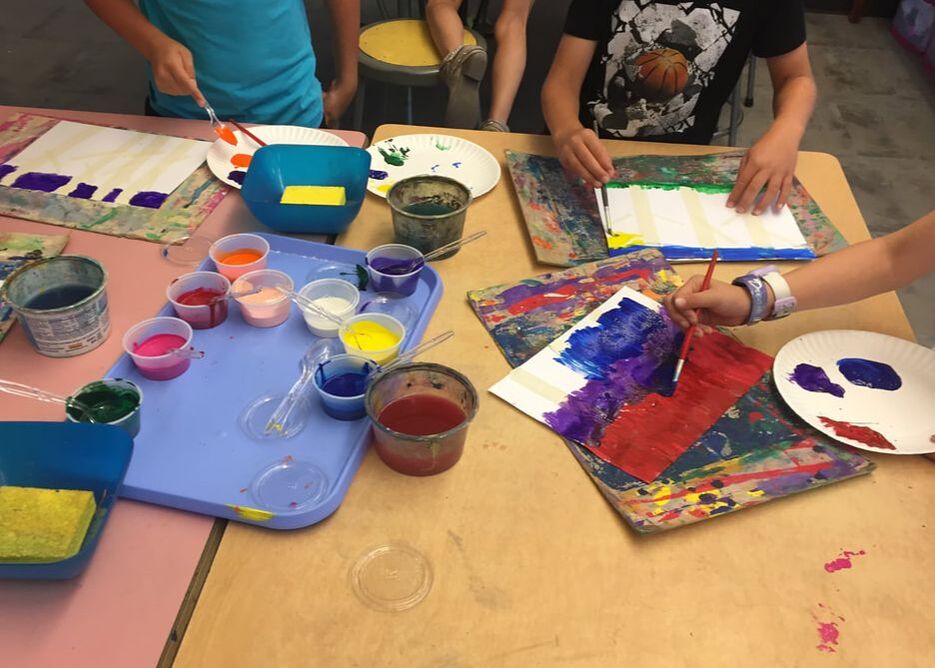
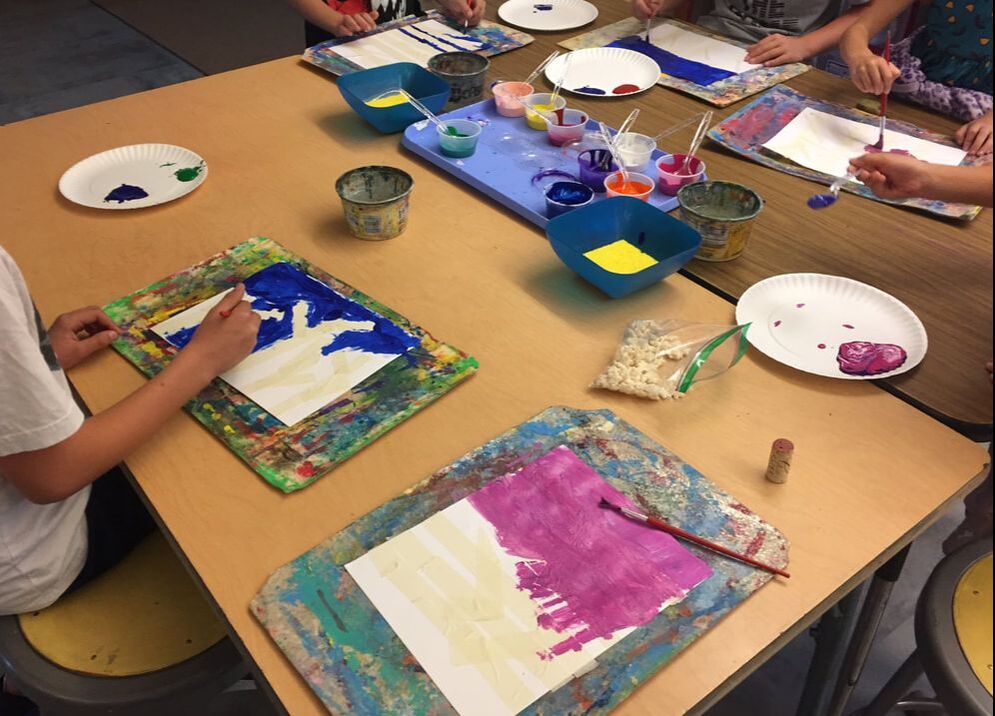
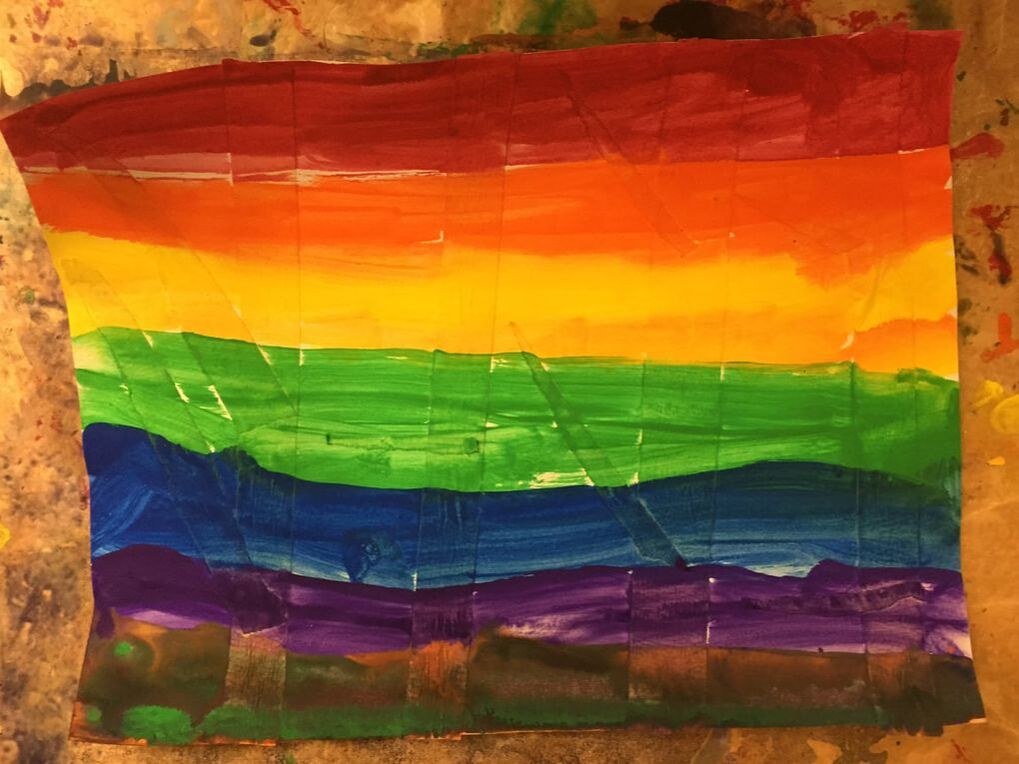
For the second class, students got to paint what would be the background for their aspen tree forest. They were provided with multiple colors and could choose whatever colors they wanted and how to paint it. Students were also provided with several tools to stamp designs on top of their painting if they wanted. They could use a cork, glue cap, cardboard, or paintbrush to explore more mark making and add designs to their forest background. |

|
Third Class:
For the third class, the students got to peel off their tape resist to reveal their tree trunks and branches. Once all the tape was removed, it was time to add the tree bark texture. After a quick demo using pre-cut cardboard, the students used black paint and the cardboard piece to swipe across their trees and create the bark texture. Some students also used a paintbrush to add more details such as an eye. The third graders also had the option to draw, cut out, and glue any little creatures or animals that may live in their forest to add as a finishing touch! |
|


Pinch Pot Monsters
Learning Target: I can create a pinch pot monster using additive process
|
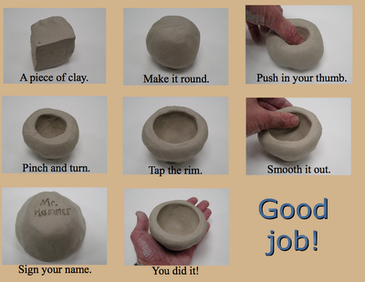
First Class:
To begin our clay project, the third graders learned a little about clay. We discussed the process our clay would be going through from where it came from all the way to how it is fired. Each student got a ball of clay and after a demonstration, made their own pinch pot. If they finished their pinch pot they used their sketchbooks to brainstorm what they may add to their pinch pot monsters |
|
|
|
Second Class:
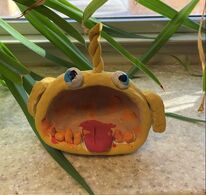
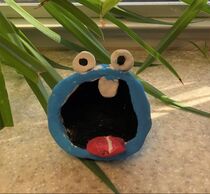
For the next part of this lesson, the students learned about the additive process with clay. They learned how to slip and score clay pieces together so that they stay attached and don't fall off. This was an important step for the third graders to add extra features to their pinch pot monsters. After learning to slip and score, the third graders had a lot of fun creating teeth, eyes, horns, tongues, and other fun monster features. |


|
Third Class:
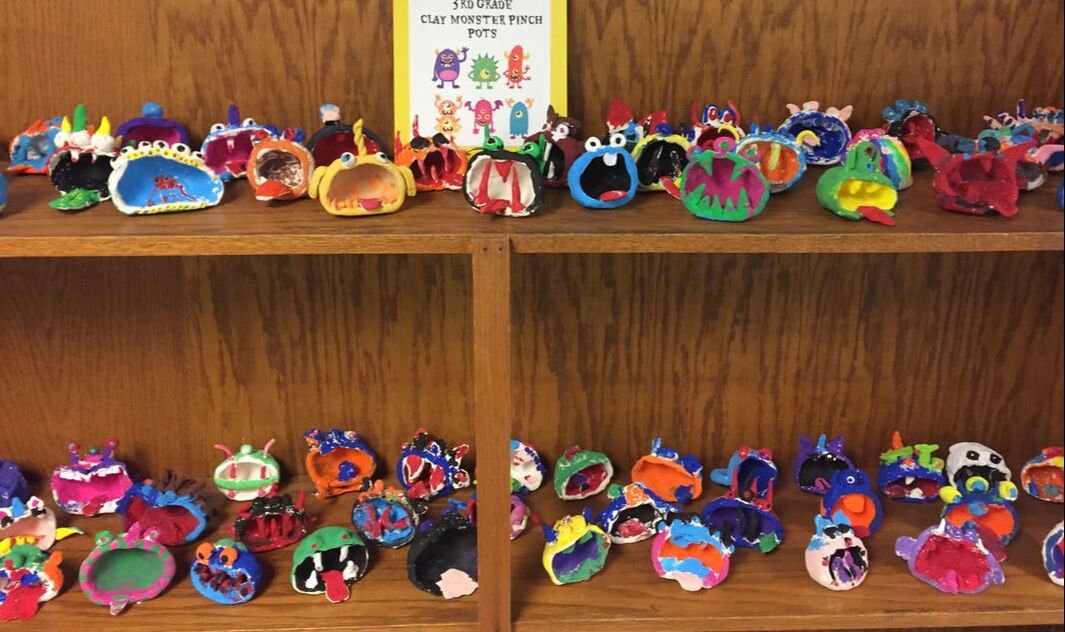
After the third grader's clay pieces were bisque fired, they were given multiple colors to paint their little monsters. Students got creative mixing different colors and adding fun details to their pinch pots. Once each class finished painting, they were displayed in the hallway to create a pinch pot monster army! |
|
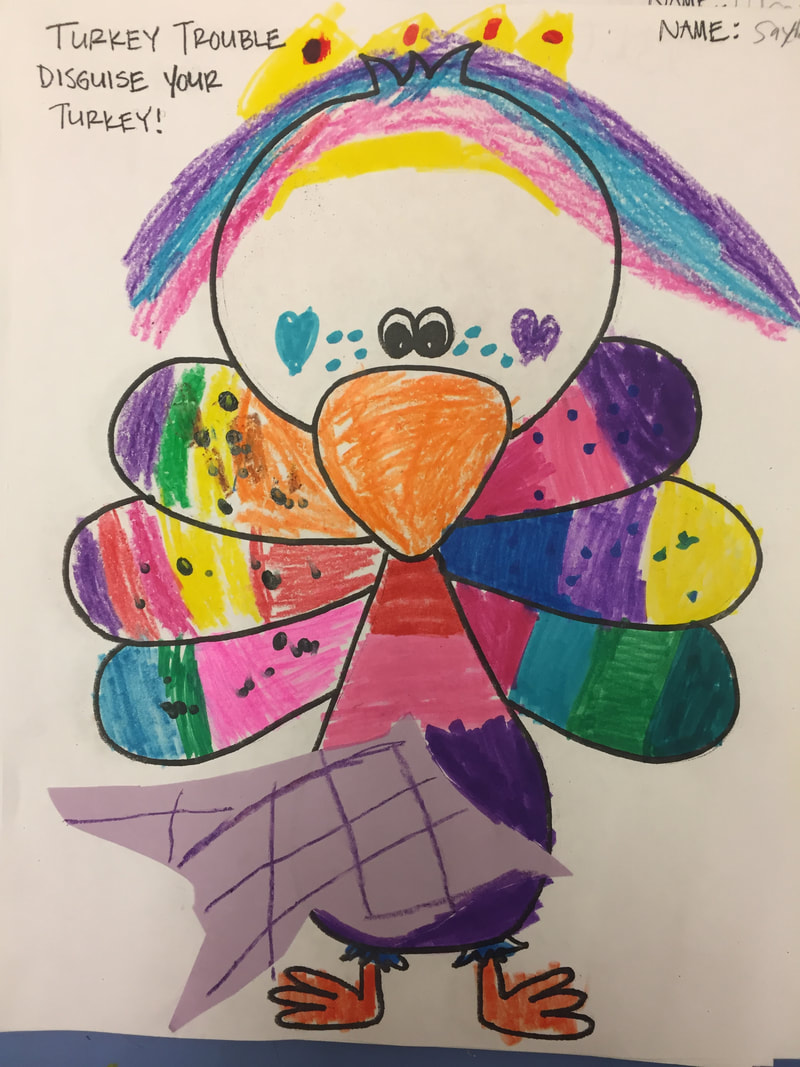
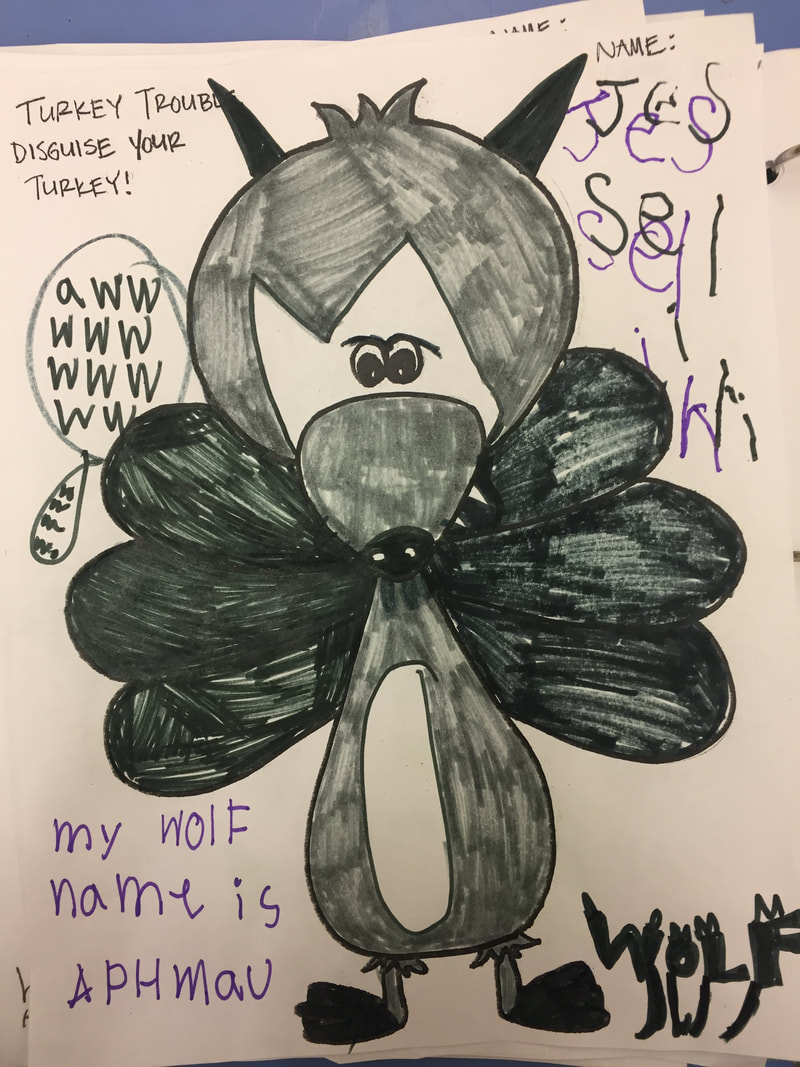
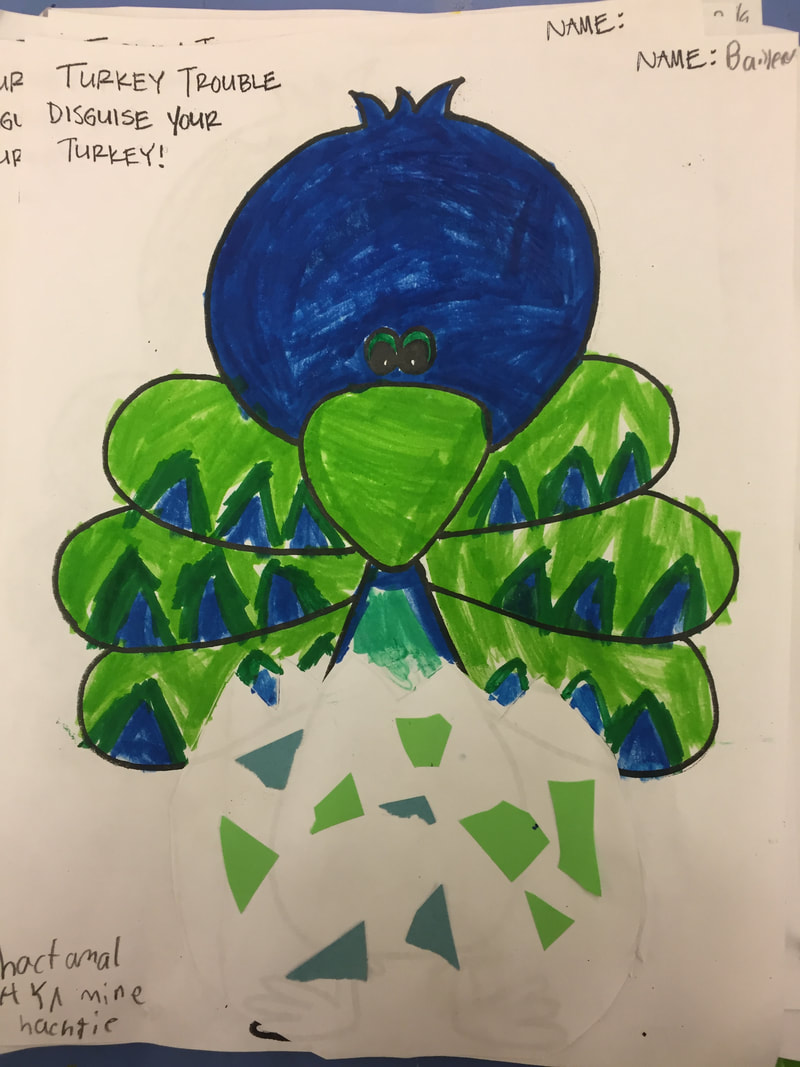
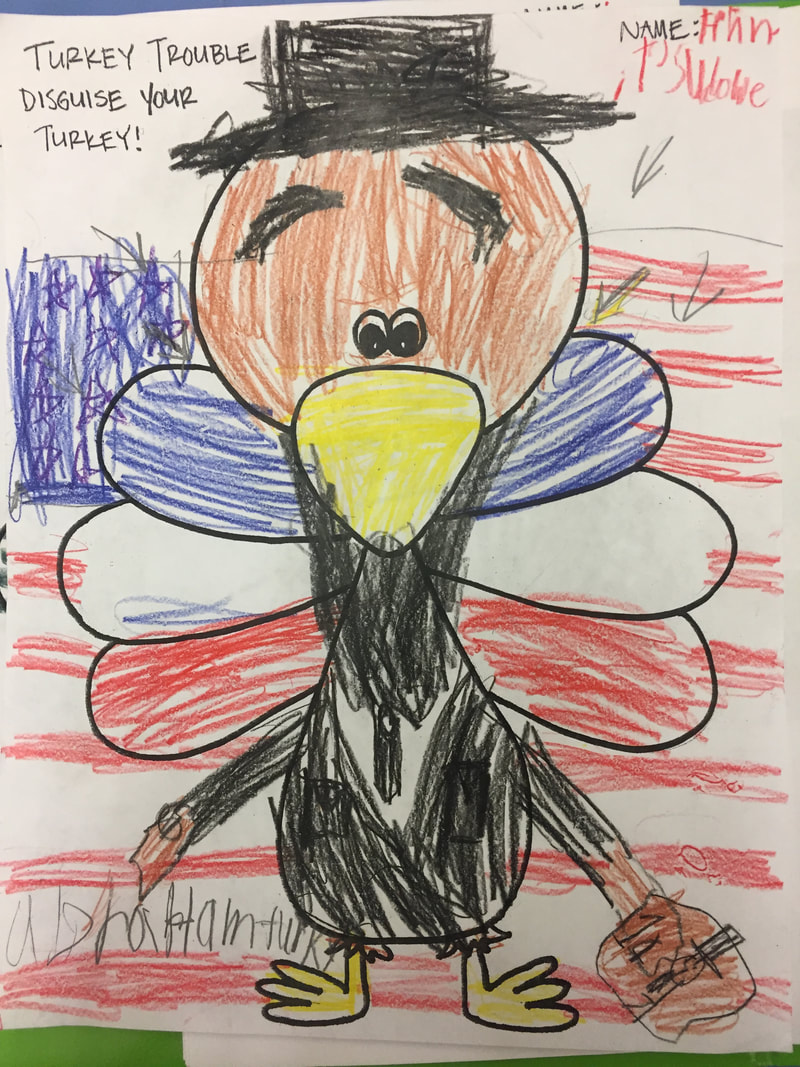
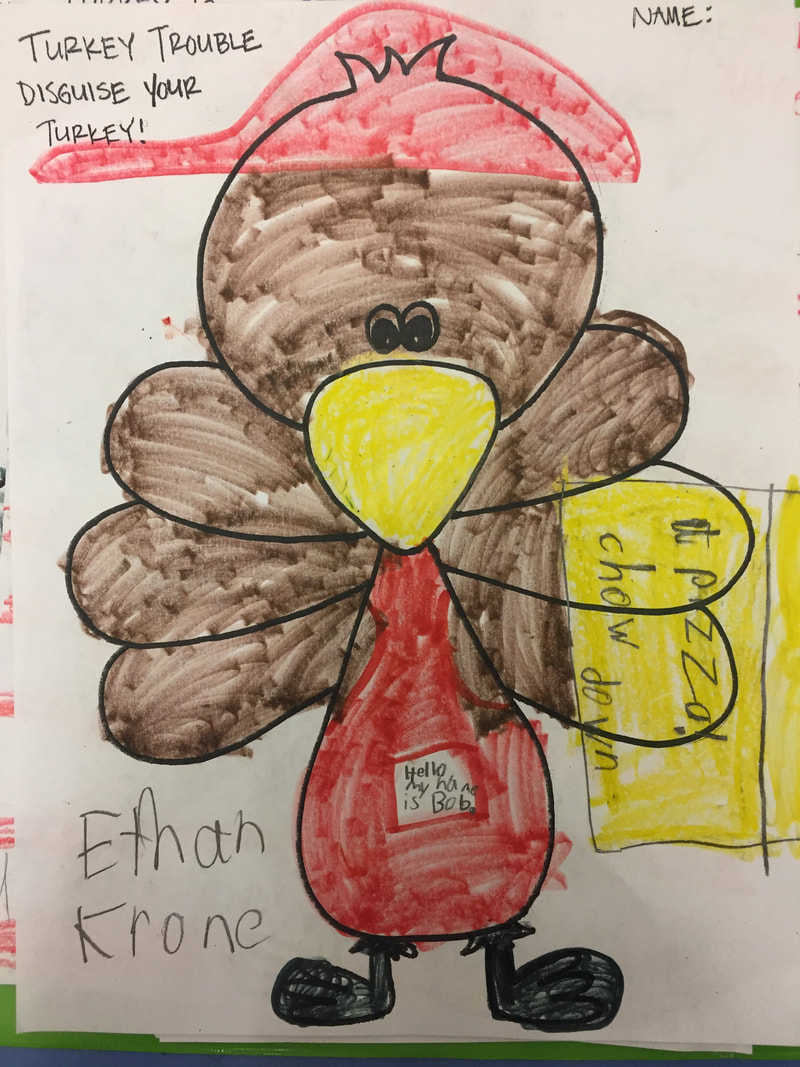
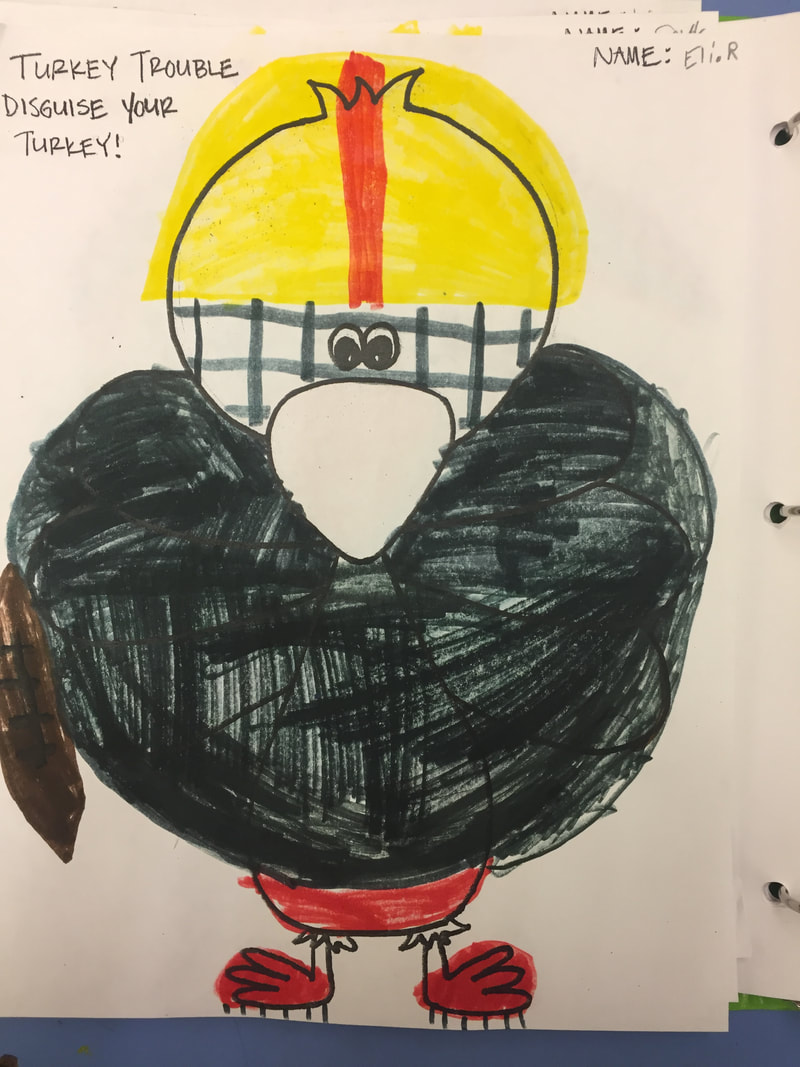
Turkey Trouble
Learning Target: I can disguise my turkey in a creative way
The third graders had some fun before thanksgiving reading the story Turkey Trouble by Wendi Silvano. After the story, they were given a turkey template and asked to disguise their turkey however they wanted! The results, some fun turkey disguises!
|
|
|
|
|

|
|
Aurora Borealis
Learning Target: I can blend chalk and create a silhouette to make an artwork about the northern lights
|
|
First Class:
For this project the students learned about the Aurora Borealis and watched a quick time lapse of what they look like in real life. The third graders talked about what kinds of lines and colors they saw. Next they chose what color paper they wanted for their background and watched a demo on how to draw with chalk and smear the dust to look like the lights they saw dancing across the skies. Students could choose their chalk colors and mix to create their own lights in the background of their artwork. |


|
Second Class:
During the second class, the third graders talked about what a silhouette. To create the tree silhouettes the students talked about tree shapes and used triangles to create them. After gluing their tree silhouettes it was time to add the stars and snow. The third graders had fun with this part, using white paint and tooth brushes to splatter white specks on their images. Some students even added moons to their northern lights skies! |
|


One Point Perspective Circle Cityscapes
Learning Target: I can create a one point perspective drawing
    |
First Class:
To start this project, the third graders learned about one point perspective and what a vanishing point is. They discussed how one point perspective is used in art and looked at different examples throughout history of how famous artists have used it in their artworks. The students also talked about what a cityscape is and where in the world large cityscapes may exist. After looking at some different examples of architecture from other cultures, the third graders started their own drawings. They used rulers, a circle template, and began by drawing their vanishing point in the center with lines that receded to that point. from here they could add in whatever kinds of buildings or scene they wanted as long as it looked like it was going back to their vanishing point. |
|
Next Classes: After the students finished drawing their cityscapes, they outlined them with black marker and began to add color. The third graders looked at different color pencil techniques such as burnishing, layering, shading, and varied pressure. They were encouraged to color their buildings however they wanted, and many of the third graders created some really fun looking buildings! |
|


Last Class:
Once the students cityscape was completely colored, they cut out their circle. The final cityscapes showed a variety of buildings, scenes, and colors!
Once the students cityscape was completely colored, they cut out their circle. The final cityscapes showed a variety of buildings, scenes, and colors!


Notan Art
Learning Target: I can create a notan that shows negative and positive space
|
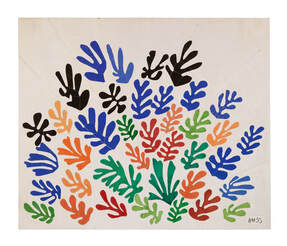
First Class: During the first class, the third graders learned about Henri Matisse, who would be our artist inspiration for this project. They looked at his artwork and how it changed over time and how as he got older and was bedridden, he began cutting out shapes to create his artworks. The third graders also learned about what a Notan is and where the term comes from. After looking at a few examples, they were able to begin to sketch and draw their own designs for the project. |
Next the students painted what would be the background for their notan. We talked about some different watercolor techniques that give interesting textures, and then they given their supplies and encouraged to explore those techniques while creating their painting. They used watercolors and could try salt, and/or seran wrap on top to create texture.


|
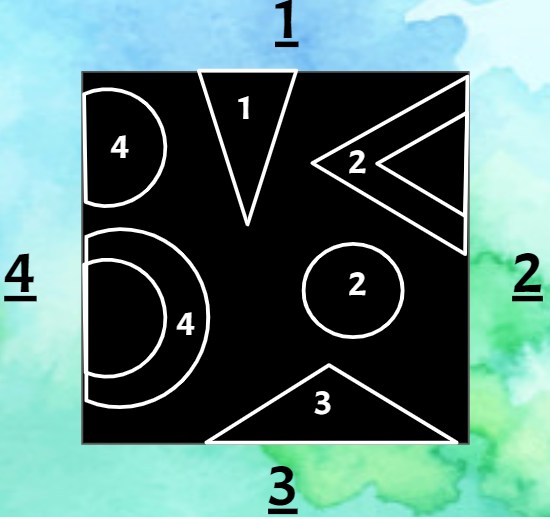
Second Class: On the second class, the students learned a few more art terms. They discussed what positive and negative space in artwork looks like and how we would use this positive and negative space in our Notans. From here they drew their designs onto their small black square, labeled each side and where the pieces would flip out, and then began cutting their shapes! |
|
|
|
Third Class: For the final class, the students finished cutting their notan pieces and like a puzzle, began arranging them onto their background paper. Once each piece was assembled, they flipped out the pieces that needed to go around the outside and glued them down. After they finished gluing each piece, they had a finished notan that showed positive and negative space and created a mirror image of each edge and shape. |


