Collaborative Painting for the New Learning Center
Learning Target: I can create a collaborative painting using painting techniques
Timnath Elementary got their learning center redone during the summer and what better way to celebrate the new space than to create some artwork for it! The first graders took on this challenge by creating collaborative paintings to be hung on the wall!
|
First Class: To begin, the first graders practiced painting techniques by learning how to care for our paintbrushes! They then created 'magic paintings' by using magic disappearing paint (water) on construction paper to explore and practice painting with our brushes. The students had a fun time watching their magic paintings fade and disappear and create new ones over top. |
|
|
|
|
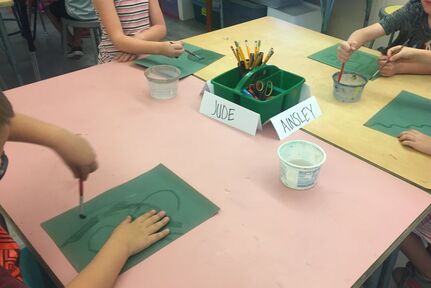
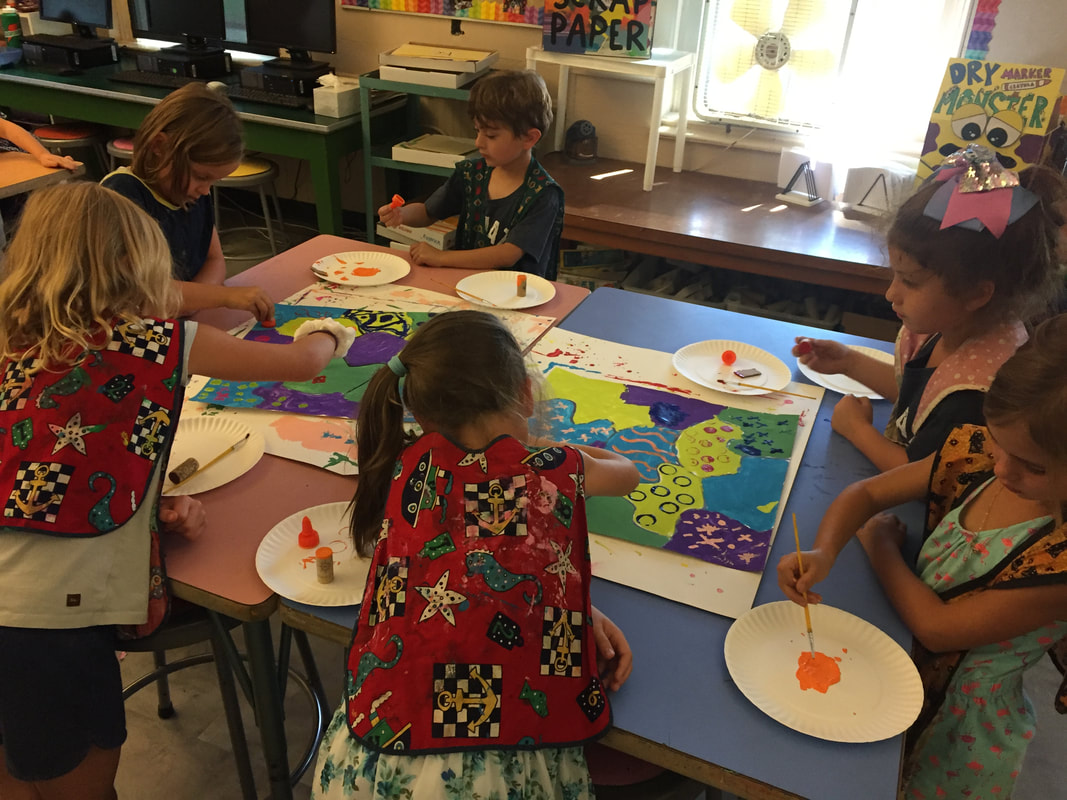
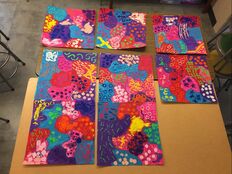
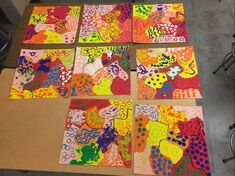
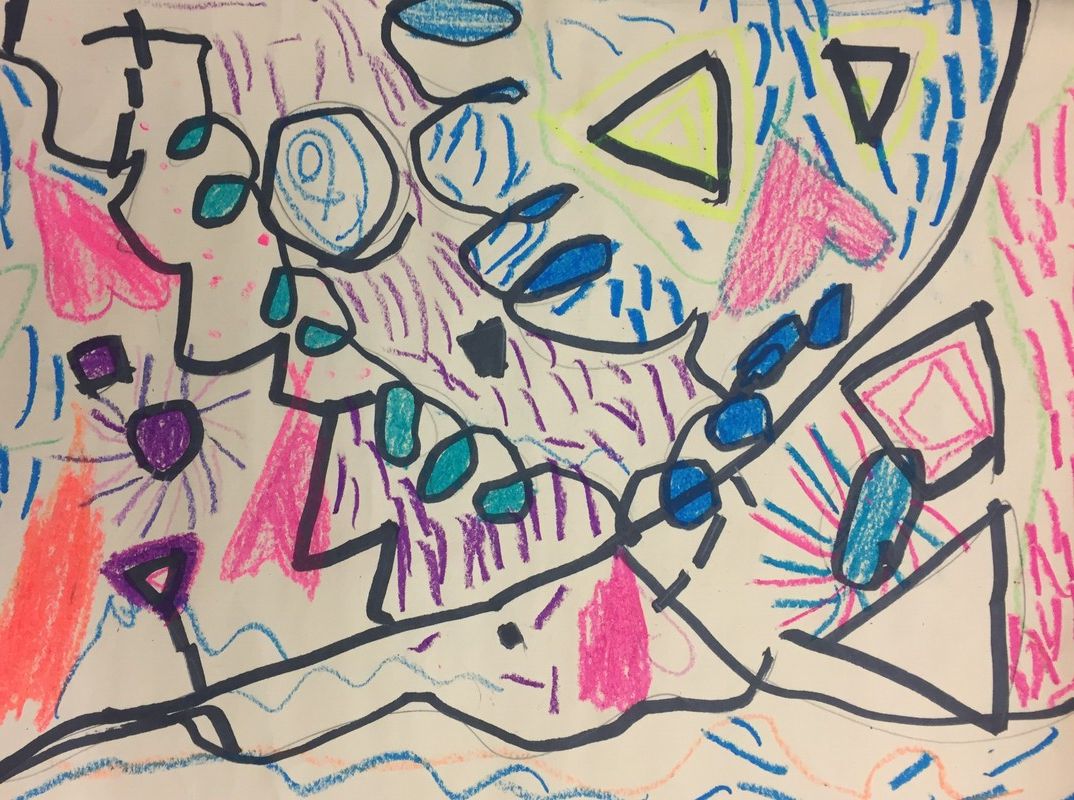
Second Class: In their second class, we began by discussing what a collaborative artwork is. The first graders then jumped into it by starting to paint the background of each square. 2-3 students per square worked together to paint in the sections. After using one color, each group rotated bringing their painting with them to the next table and a new color! This process was repeated until all colors were used and each section of the background was filled in. Each first grade class had a different set of colors to make each groups paintings unique. |


|
Third Class:
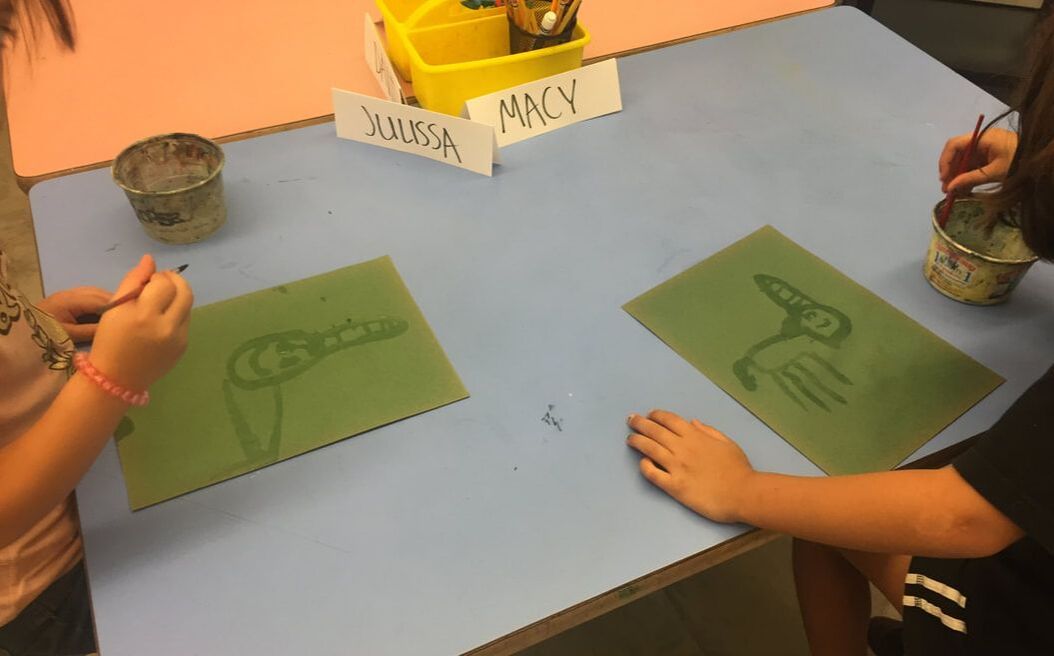
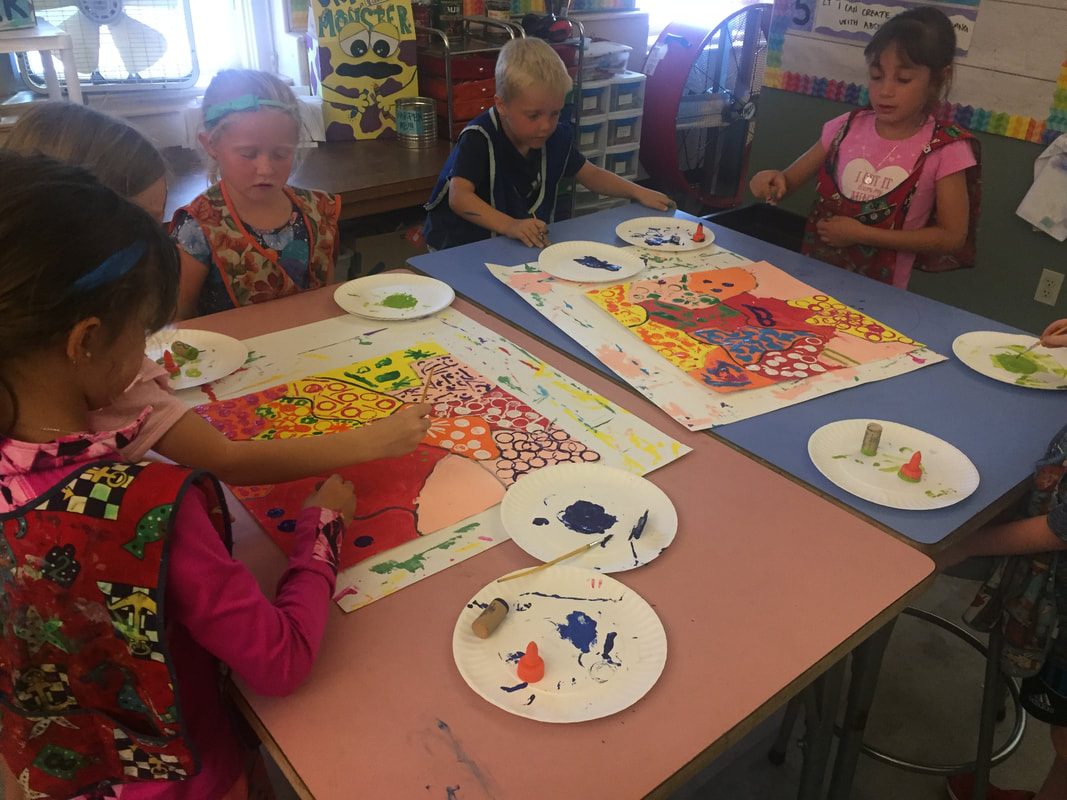
In the next class, students added details to the painted in sections using different stamping and painting tools. Similar to the previous step, students choose their stamping tool and which section they wanted to fill in, rotating to a new table and color until finished. |
|
|
“Collaboration is the ability to share resources freely with someone else without compromise. It is a constant dance of mixing it up and letting it go, and then mixing it up again….”- Marc Craig |
|
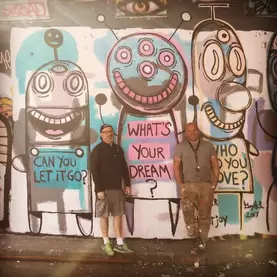
The first graders had fun watching a clip about two artists Marc Craig and Gary Hirsh. Together they created a large scale collaborative mural on a wall at the Lake Street Tunnel in London. The first graders had a lot of fun watching the artists work together and transform the white wall to a colorful mural. During the video students exclaimed that the artists were using similar colors and painting just like we did on our collaborative paintings!
Click the image to the left to see the video clip! |
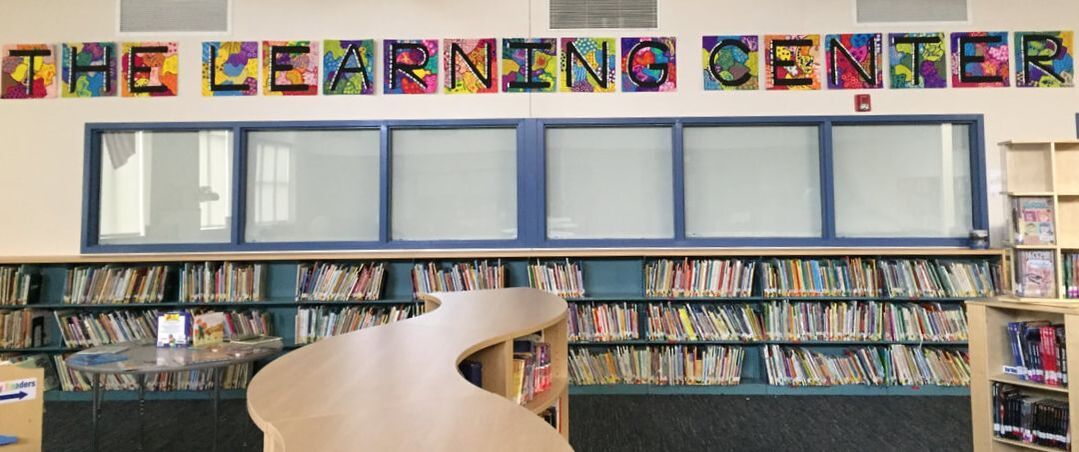
After each groups collaborative paintings were completed, Mrs. Bello added the letters to each background. The first graders collaborative paintings were then hung in the learning center adding a pop of color and for all to enjoy!
After each groups collaborative paintings were completed, Mrs. Bello added the letters to each background. The first graders collaborative paintings were then hung in the learning center adding a pop of color and for all to enjoy!
|
|
|
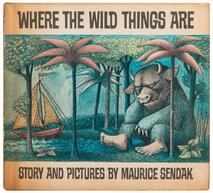
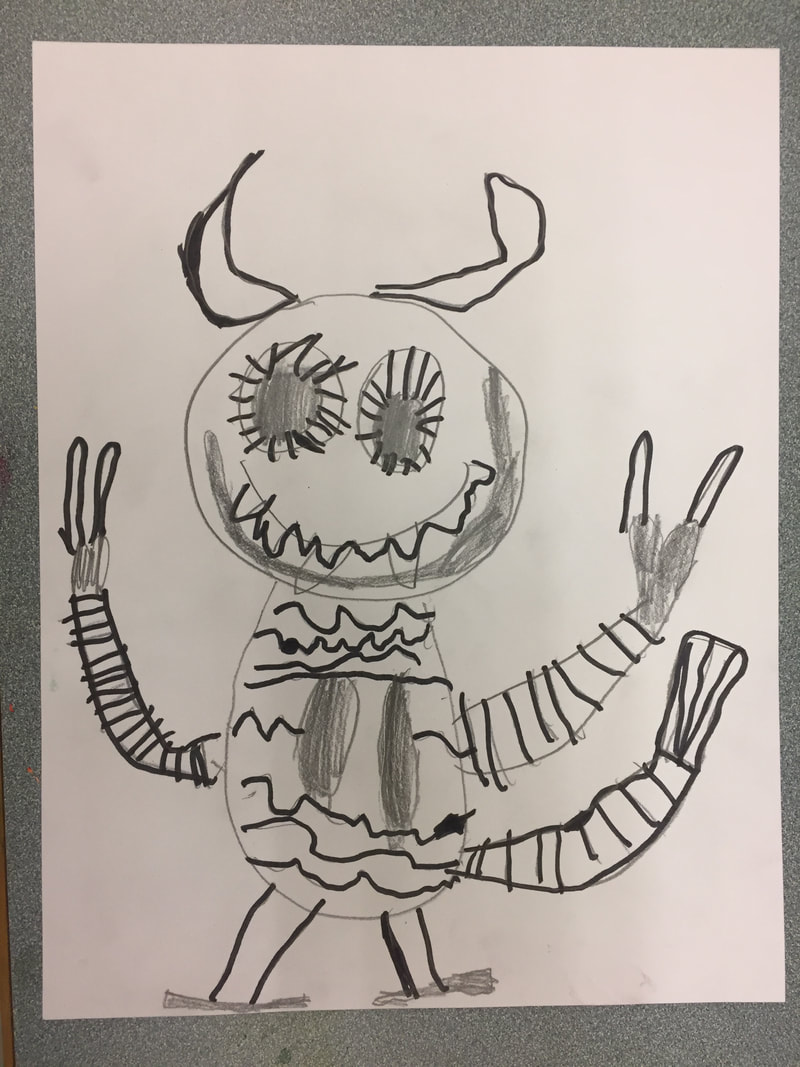
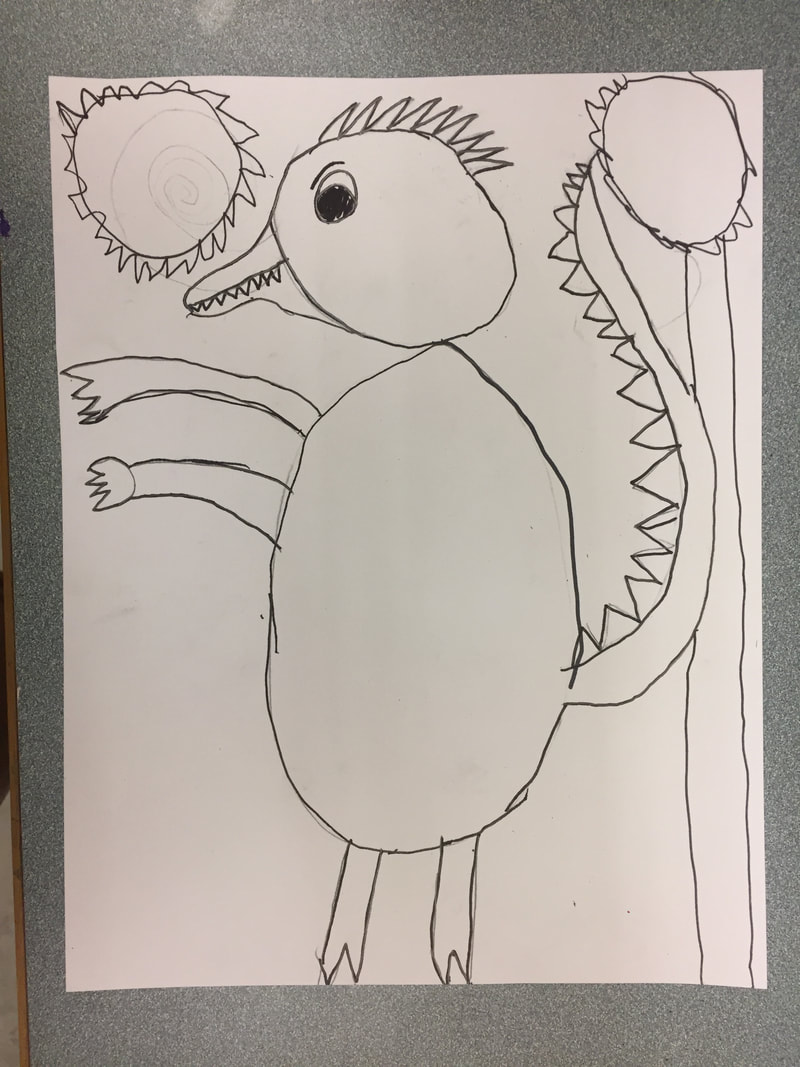
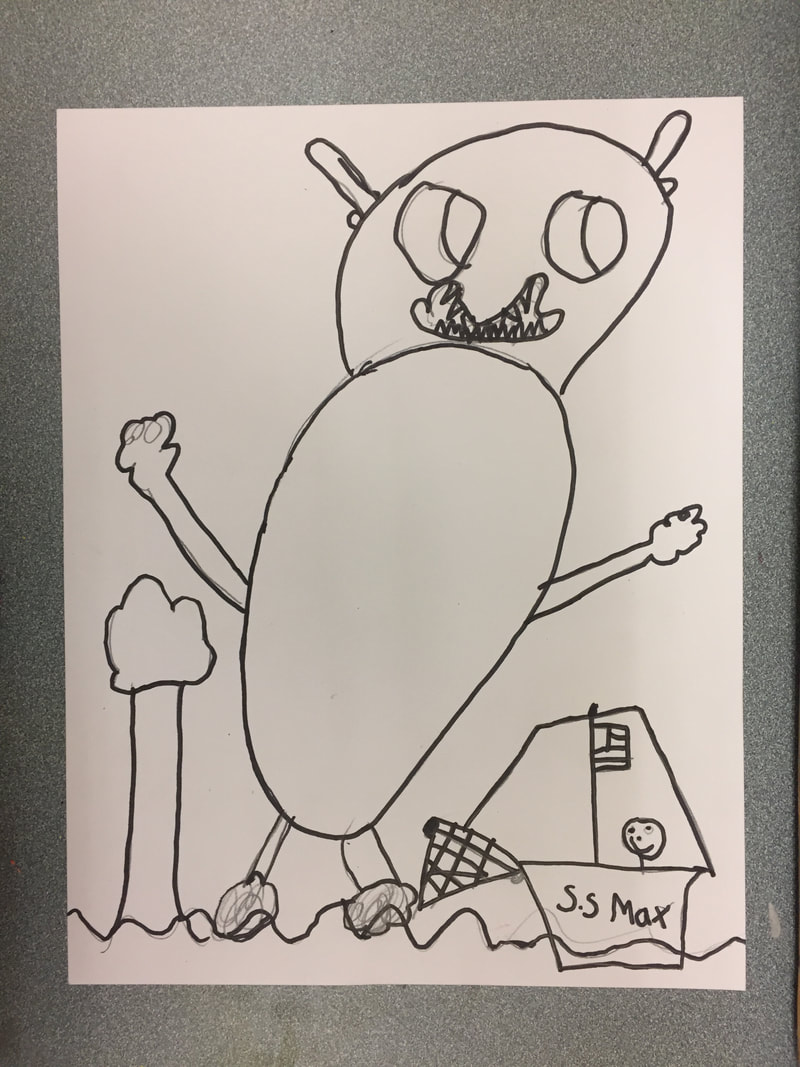
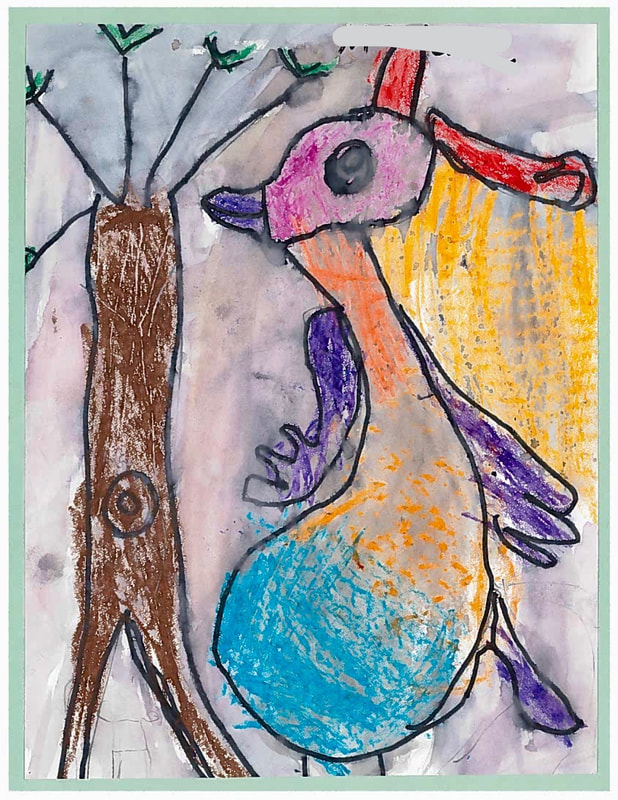
Original Works Project: Wild Things
Learning Target: I can create a wild thing that shows texture
|
First Class:
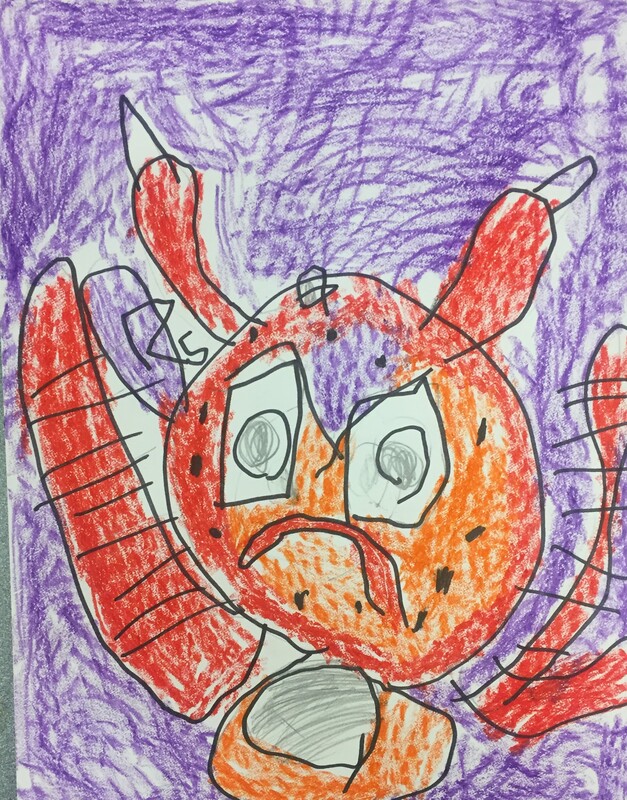
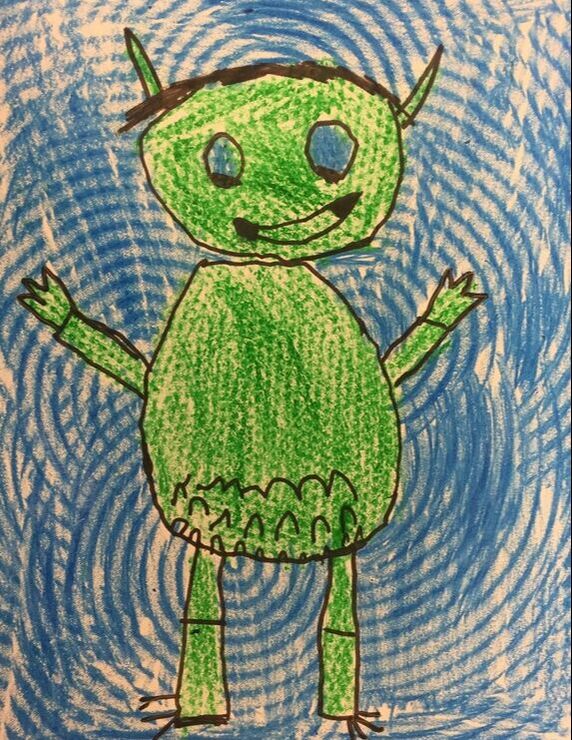
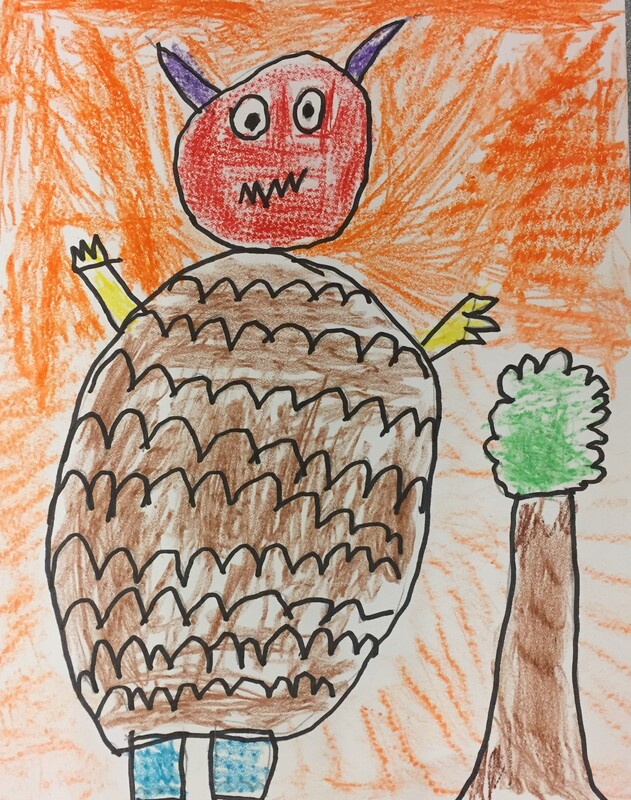
the first graders started this lesson by listening to the story Where the Wild Things Are, by Maurice Sendak. After reading the story, we talked about different features we saw on the wild things in the book. The students brainstormed and looked at different ideas they could incorporate to create their own wild thing. Some students created wild things with 20 eyes, multiple heads, and many more creative ideas! |
|

|
|
|
|
Second Class: The next class students discussed what texture was and how they might show it in their artworks. They then got to see a demonstration on how to use texture plates. They were able to explore the different plate designs to add different textures to their wild things. For this part, the first graders used crayons to do a rubbing with the plates on their picture and tried to fill in all of their spaces to show texture. Many students used different texture plates for their wild things and created some very interesting marks! |
|
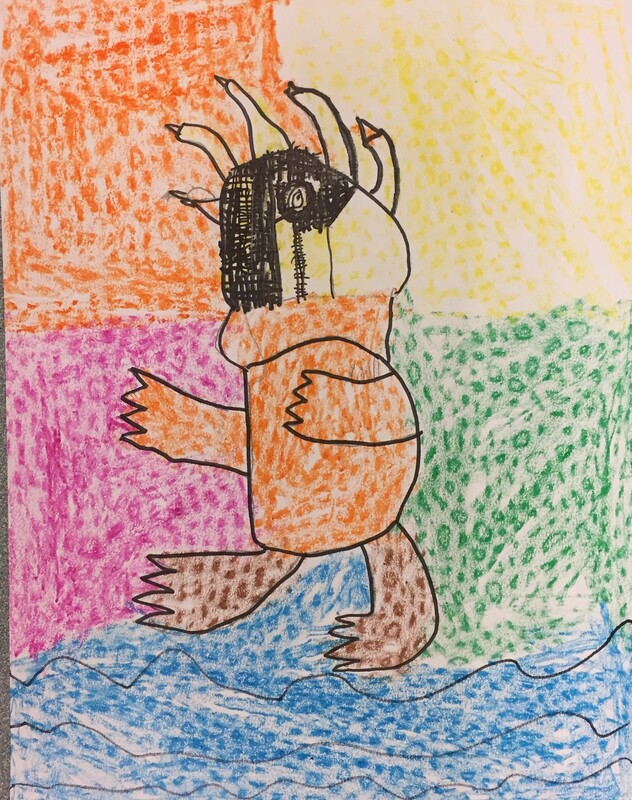
|
|

|
Third Class: For the third and final class, students used water color to fill in the remaining white spaces in their picture. Students got to see what happens when watercolors and crayons are used together and how the crayons resist the watercolor. Some students explained that if they used a lot of crayon, less watercolor was seen, where as those who had more white space were able to use more watercolor to fill in their image. In the end, the students wild things definitely showed a lot of color and incorporated a variety of textures! |
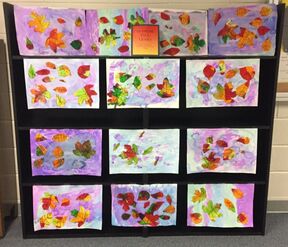
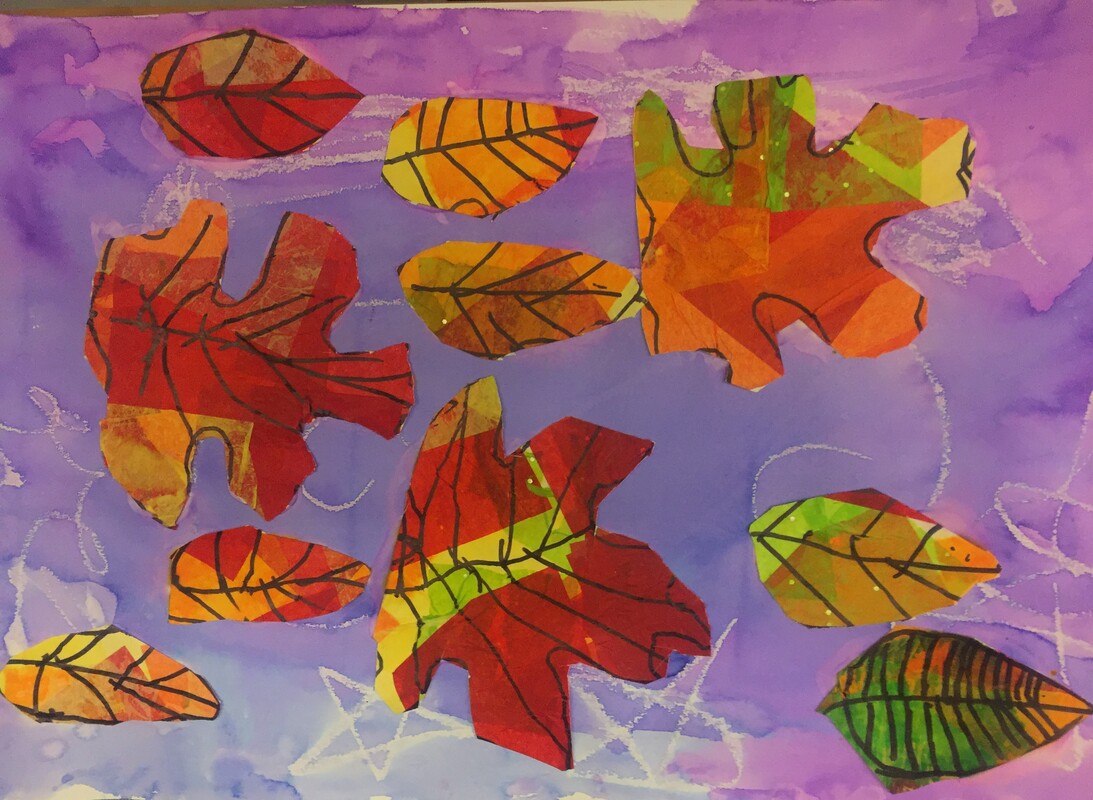
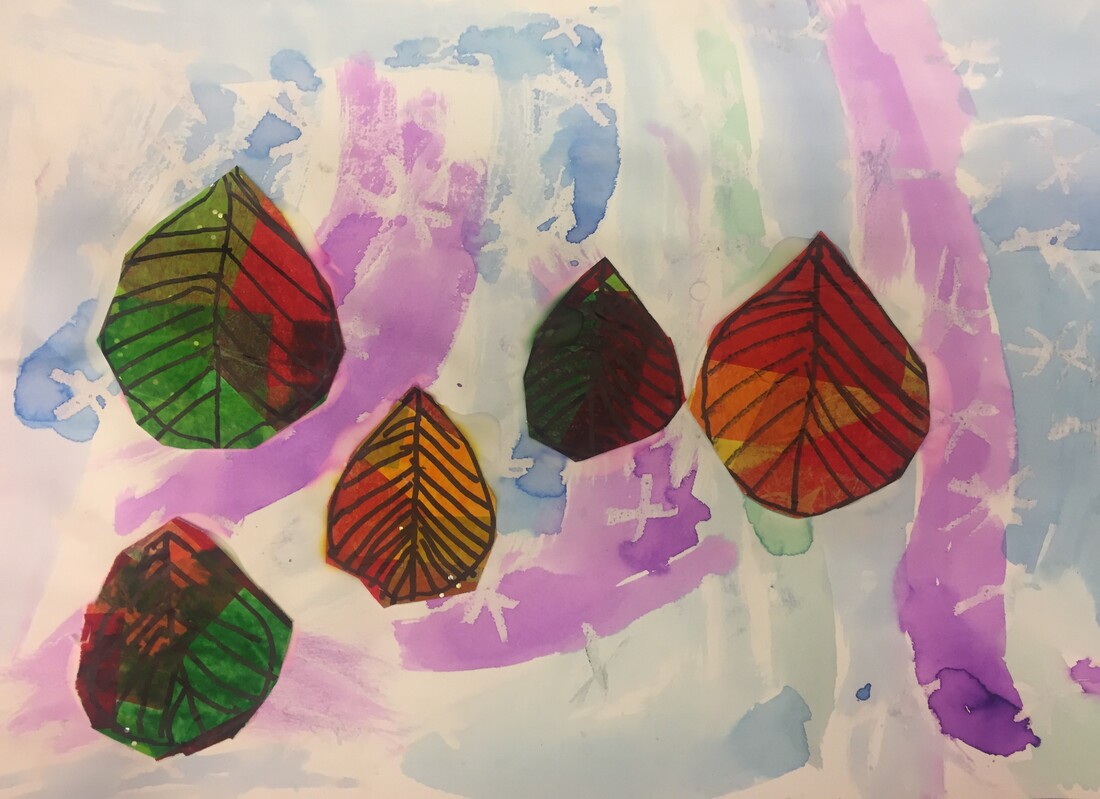
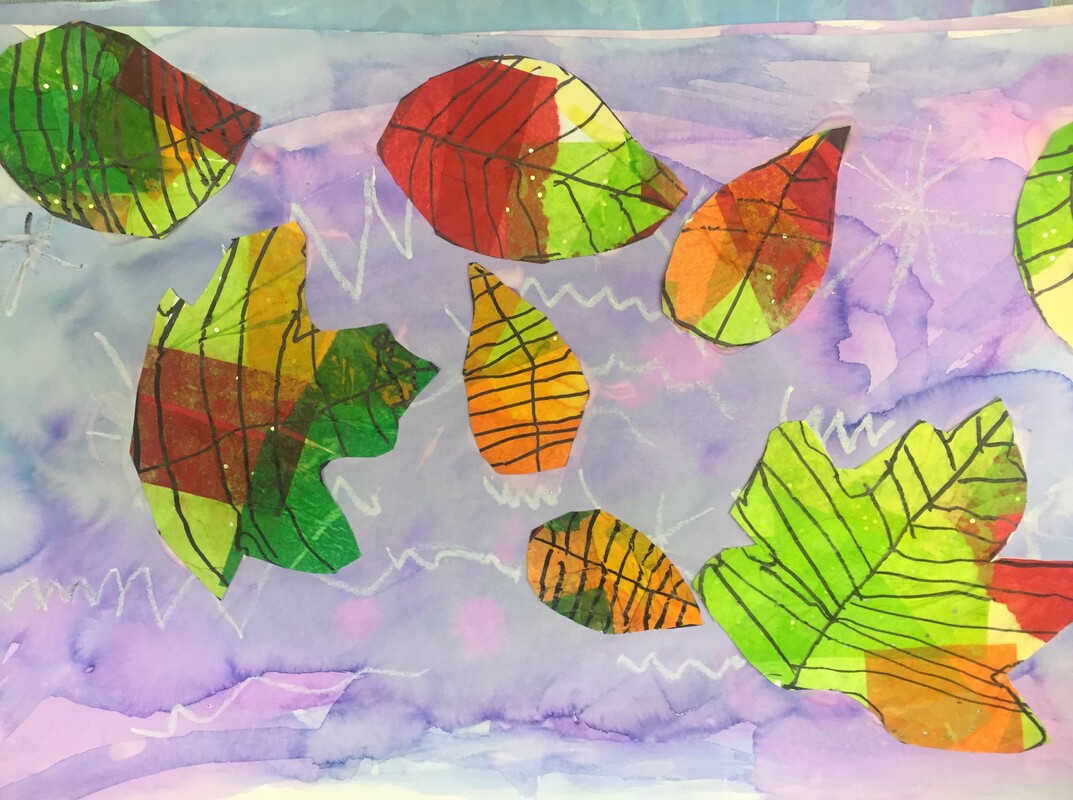
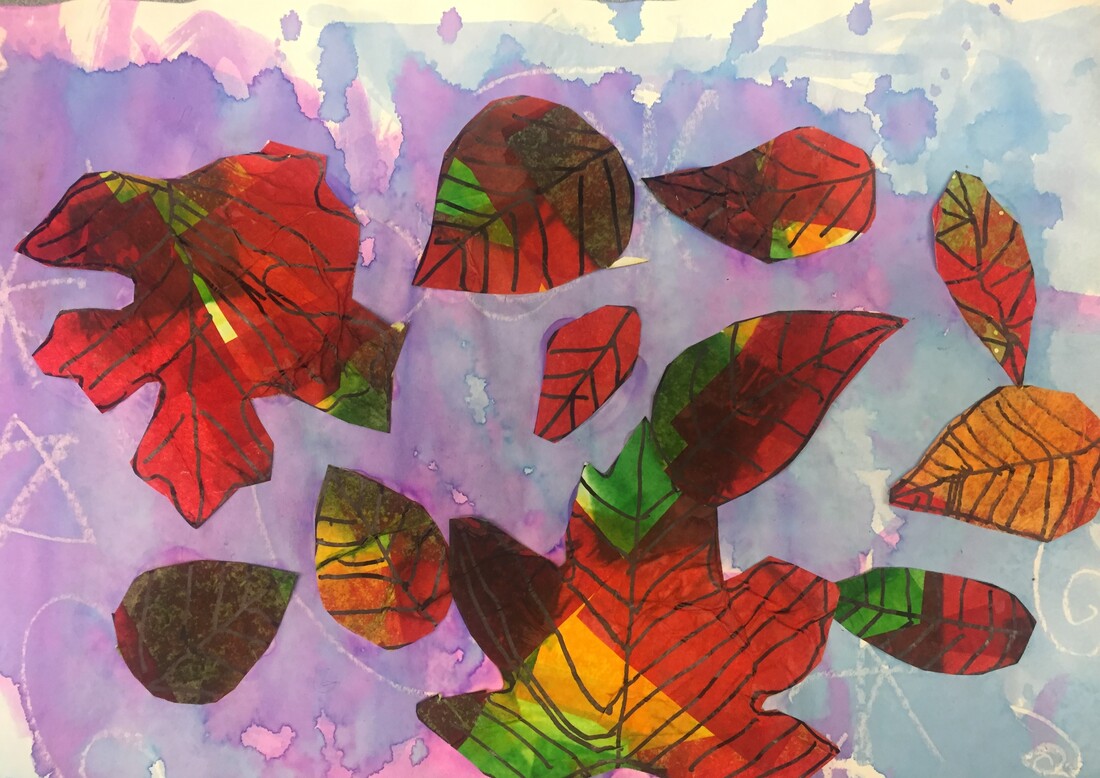
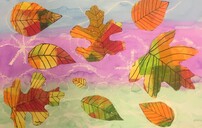
Fall Leaves
Learning Target: I can use warm colors and collage to create realistic leaves and cool colors for my background
|
|
First Class:
To begin this lesson, we looked at how leaves change in the fall and what kinds of colors they show. The first graders had fun with different warm colors of tissue paper and used paintbrushes and glue to glue them down overlapping different colors. They were instructed to choose and overlap whatever colors they like making sure to fill all of the white spaces! |


|
2nd Class: The next step in this lesson, the first graders used stencils to trace different leaf shapes onto their collage tissue paper. We talked about trying to make good use of the space with the stencils and try different shapes or even draw their own. Students also added veins to their leaves to make them look more realistic! |
|


|
|
Third Class:
For the background the first graders used cool colors. They discussed the difference between warm and cool colors and decided which of the liquid watercolors were cool and could be used to contrast the warm colors of the leaves. They also used white oil pastels before the watercolors to add 'windy' details. The white was disguised on the white paper, but showed up after adding the liquid watercolors on top. |


|
Fourth Class:
For the final class, the first graders put everything together to make their final artwork. They practiced their scissor skills by cutting out their collage leaves. We discussed space and how they could arrange their leaves on their background to fill the area. After arranging them onto their backgrounds, the first graders glued down the leaves and added any final details using black marker. |
|
|
|
|
|
|
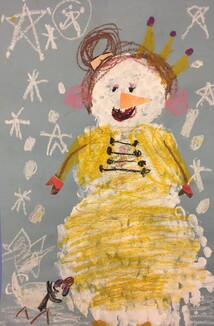
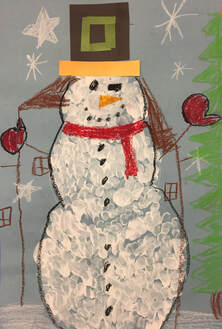
Finger Painted Snowmen
Learning Target: I can use finger painting and collage paper to create a snowman
|
|
First Class:
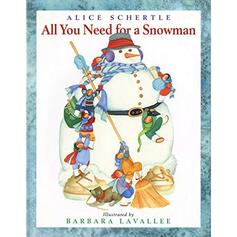
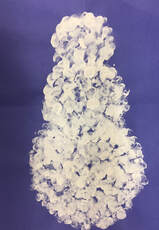
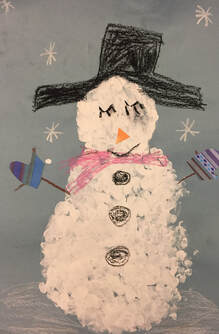
To start this lesson, we read the book All You Need for a Snowman, by Alice Schertle. During the reading, teh students looked at different objects that could be used to build a snowman and brainstormed on what they could add to their own snowman. After reading the story, the students used stencils to create three circles for the snowman body. they then painted with 'snowflakes in a bottle' white paint and used finger painting to fill in each of the circles. |
|
Second Class: After finishing the finger painted snowmen and letting them dry, it was time to add some snowman details! The first graders revisited what items they may add to their snowmen by brainstorming and sharing ideas, and then decided what they wanted for their snowmen They were given oil pastels and assorted papers. Using the oil pastels, they were able to draw on top of the white paint, and add details such as snow or snowflakes to the backgrounds. Each table also was given a variety of decorative papers they could use to cut out special details and glue them onto their snowman as well! The first graders got super creative with what they could add to their snowmen, and we ended up with a whole family of snowmen each more unique than the next! |
|

|
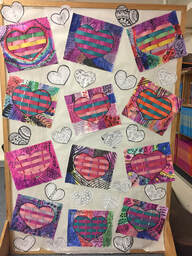
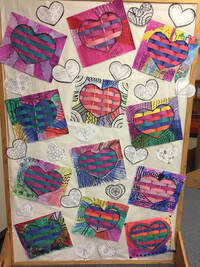
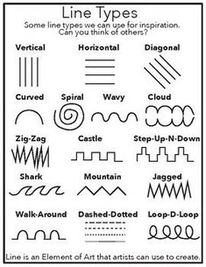
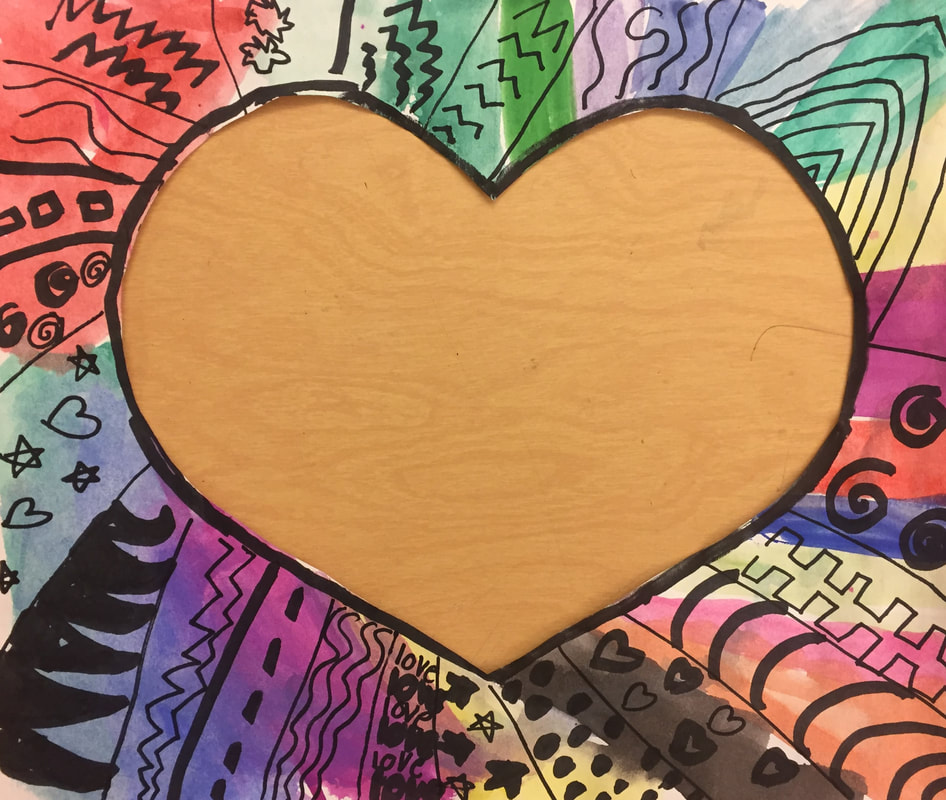
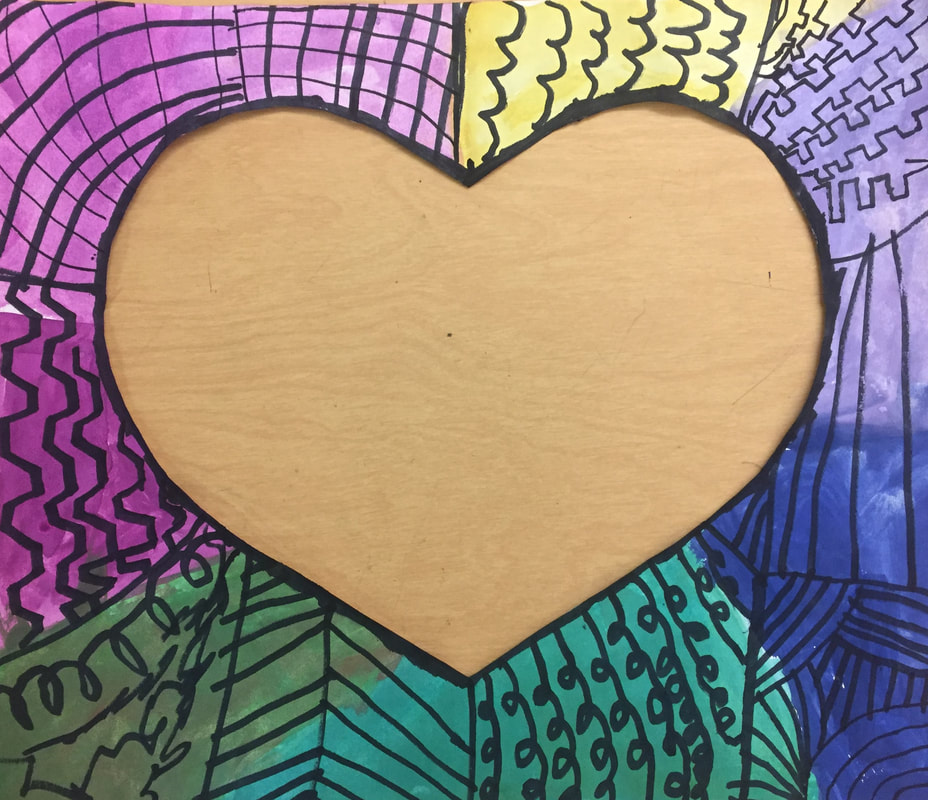
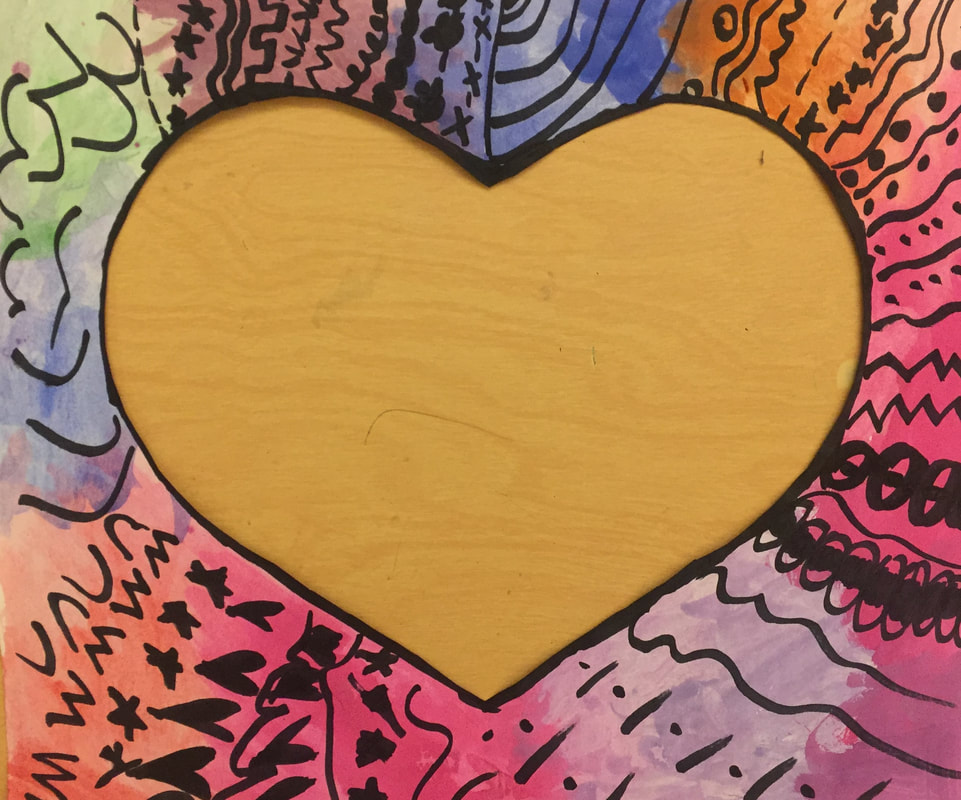
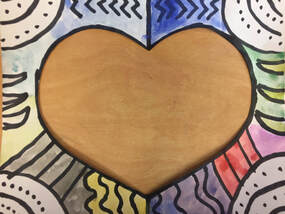
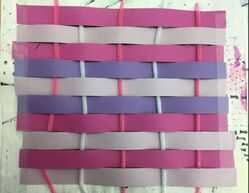
Heart Weavings
Learning Target: I can create an artwork that shows different lines and weaving.
|
The first graders had the opportunity to create some artwork for their music concert. The theme of their concert was love and kindness so we created an artwork that could be displayed during the performance. |
|
First Class:
Students began this project by painting their white paper with a heart cut out. They used tempera cakes to add their colors and cover all the white space


|
Second Class: To begin this project, the first graders discussed what a line is and different examples. They took part in a line challenge and tried to draw as many different lines they could think of and then share what they came up with with others in the class. It was fun to see the different ideas they came up with! Students then reflected on the lines they liked and used those to decorate their heart paper. They were encouraged to fill the space with as many different kinds of lines as they wanted! |
|
|
|
|
|
|
Third Class: For the last part of this project, the students learned about weaving. They choose 5 pipe cleaners to create their warp and also choose from different colored strips of paper for their weft. Once the pipe cleaners were taped to the back the students began weaving in their strips of paper making sure to follow the over, under, over, under weaving pattern. |


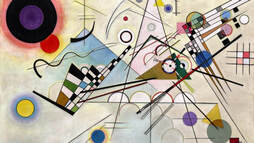
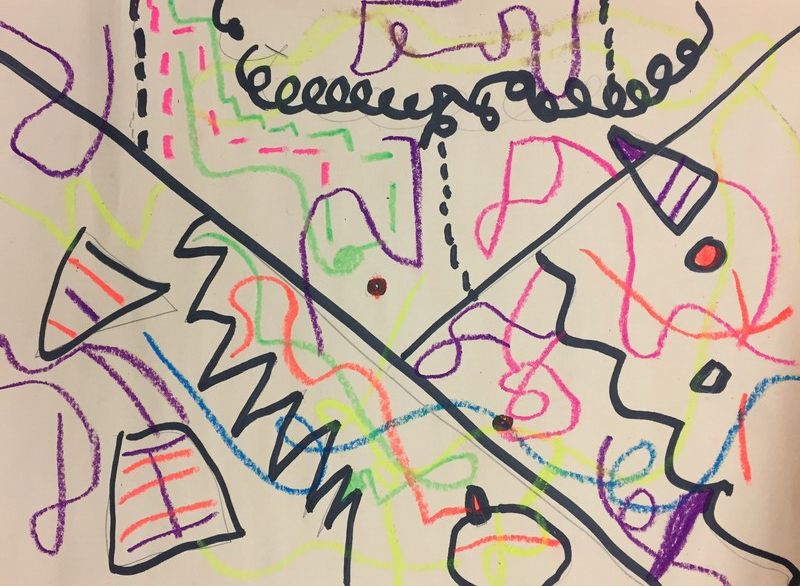
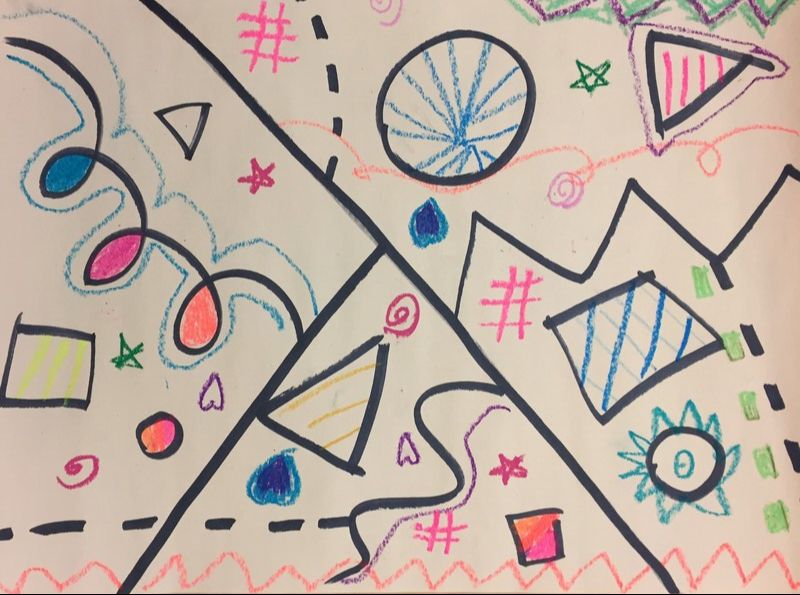
Kandinsky Paintings
Learning Target: I can create an abstract artwork using line, color, and shape.
First Class:
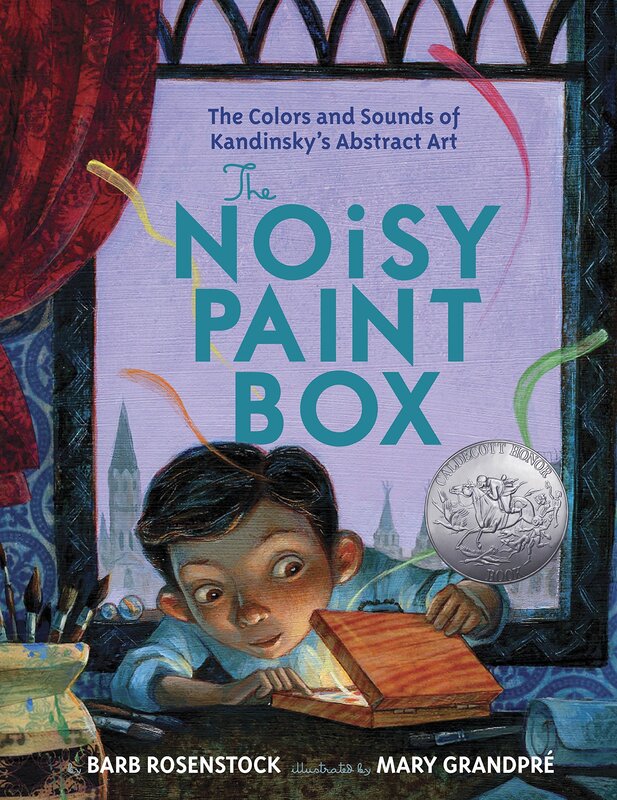
To start this project we read a book called The Noisy Paintbox. The first graders learned about Wassily Kandinsky who would be the artist inspiration for this project. They also discussed what Abstract Art is and how Kandinsky was the one of the founding fathers of this art movement. Next, students did a step by step drawing using different lines and shapes that would be the start of their Abstract artwork composition.
|
|


|
Second Class:
during the next class, we talked more about Kandinsky and his artwork. The students learned that he thought he could express feelings and music through shapes and colors in his paintings. For the first part of the class, the first graders listened to different instruments while closing their eyes and thought about what shapes, lines or colors they saw with each sound. After this, the students thought about what they saw and then added color and more details to their abstract images using oil pastels. |
|

|
Third Class
For the last step of this project, we continued to add color to our Kandinsky abstract art by painting with tempera cakes. Students got to see how the oil pastels react with the paint. When painting over their oil pastel details, the pastel areas resisted the paint.
As a finishing touch, students could have their painting sprayed with thinned out gold or silver paint. They were really excited about this last step and ooo'd and aahh'd when their final piece took on its shimmery finish.


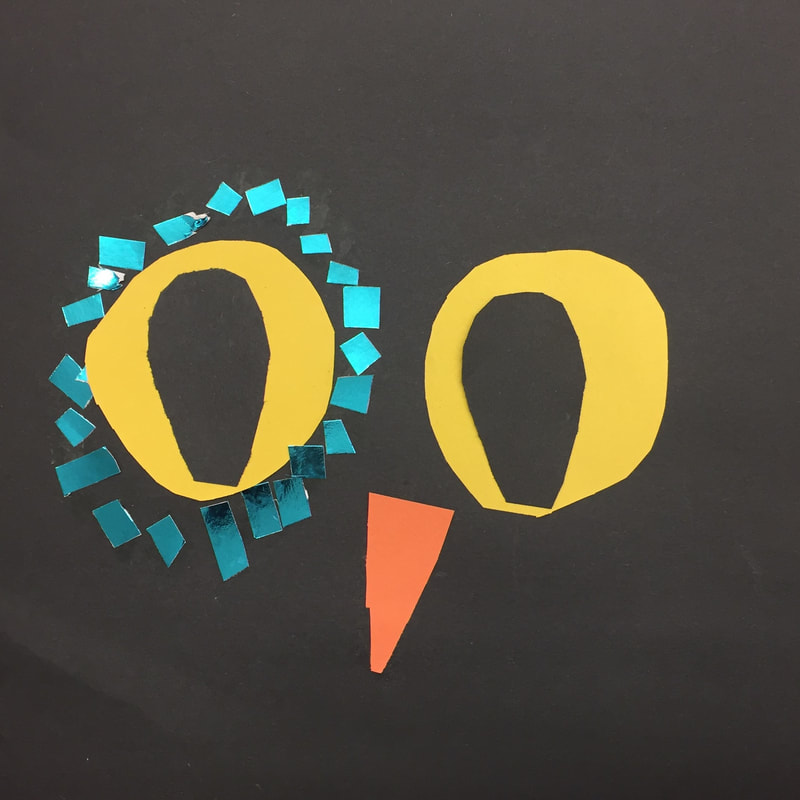
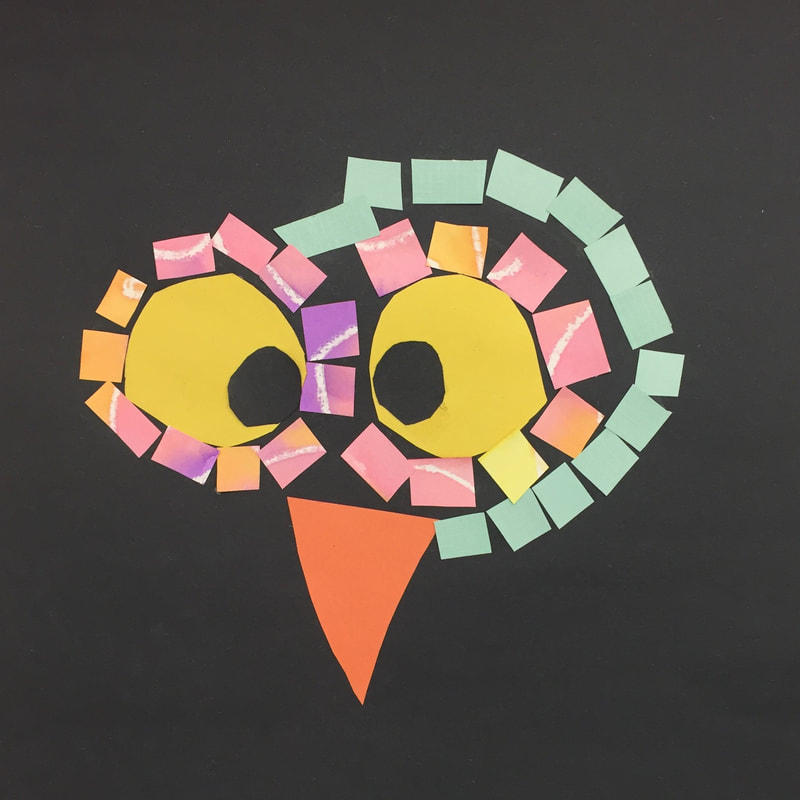
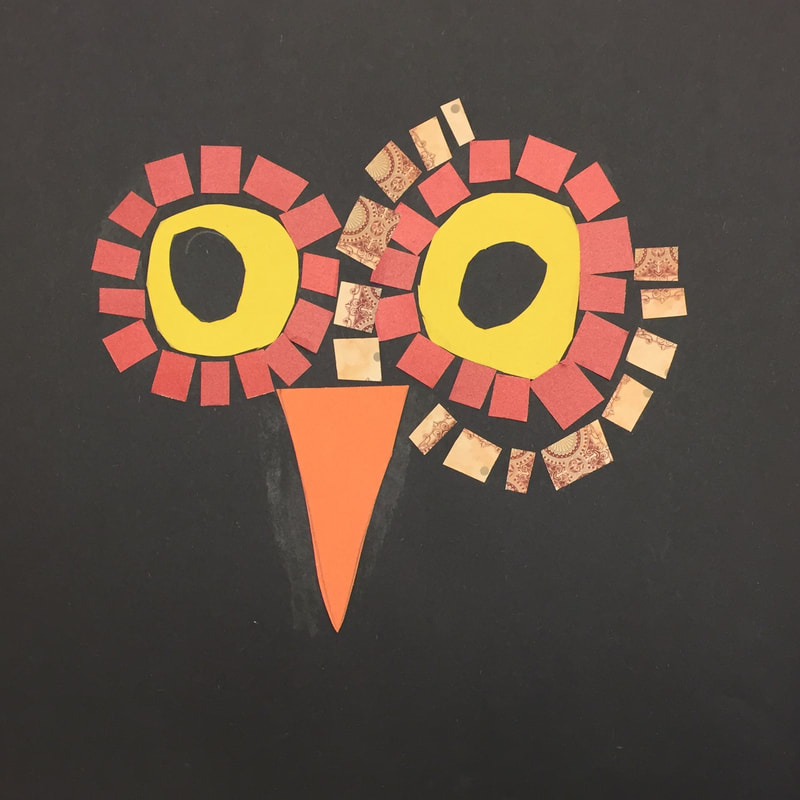
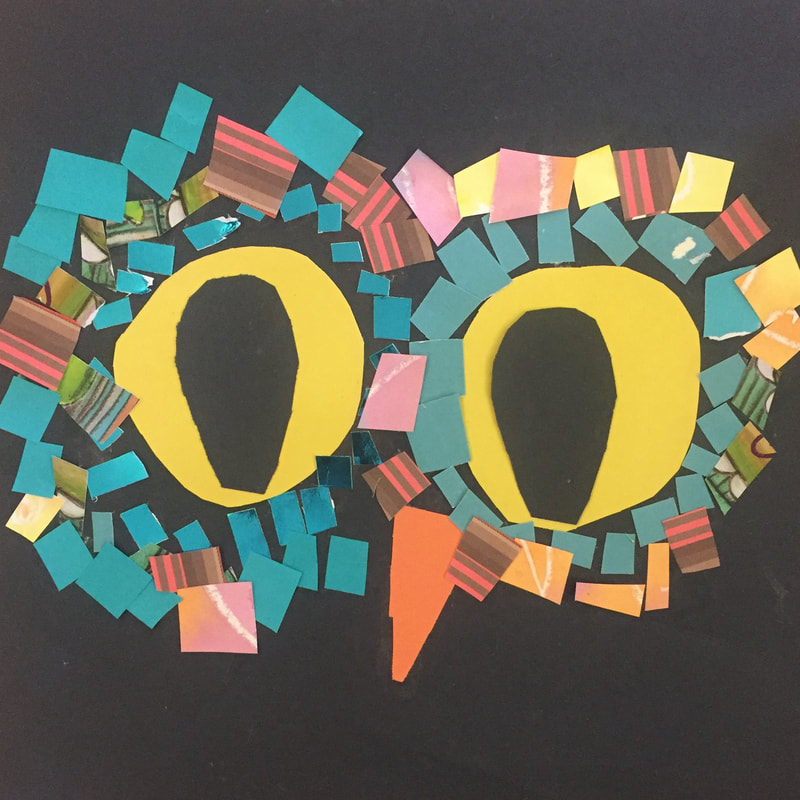
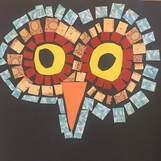
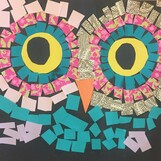
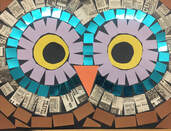
Mosaic Owls
LT: I can learn about mosaics and create my own mosaic owl by cutting and gluing small pieces of paper.
For this project, the students learned about mosaics. They looked at different examples, saw how they were made, and learned some of the history and where they came from. We read a short story called Little Owl's Night, and then the students were off to create their own. They used scraps of paper to cut their small squares from and glued them down to their paper around their owl eyes.
|
|
|
|
|
|
|
Unfortunately the students did not get to finish this project due to remote learning but did get some of the process completed. They were off to a great start! |
|
